Quick Tips for Recording Audio
On this page, you can find general tips and guidelines for recording audio using your phone or
Recording on your phone
The easiest way to record audio is to use an app on an iPhone or Android phone, although this option results in lower audio quality.
It’s usually not worth trying to edit a sound file on your phone. It’s much faster and easier to instead upload the sound file to a cloud storage location so that you can later download it onto a computer for editing.
Here are some quick steps for each:
iPhone
- Use the built-in Voice Memos app
- Tap the red button to start and stop the recording
- Share via AirDrop or cloud storage (see below)
Android
- Use the Recorder app
- This app starts recording when you tap the large button at the bottom center
- Tap the stop button to end the recording
- Click on the recording (should be at the top)
- Tap the three dots at the upper right to open up the menu where you can share the recording to cloud storage.
Cloud Storage
- Cloud storage could be your Google Drive, Dropbox, etc. If you don’t have a storage account anywhere, all the accounts and apps are free with plenty of space.
- You can always fall back to UNM’s OneDrive. you can download Microsoft OneDrive and it will connect to your UNM email account.
Download and convert your file to .mp3
- Recording with your phone will likely produce an .m4a, which Audacity cannot read by default.
- You can use this free online converter to convert your file to an mp3 format.
- Download the file to a place you can easily access later to get it into Audacity.
Recording with Audacity
You will get better quality audio if you use the YETI mics in Amaranth or in the recording booths at Zimmerman Library. If you’re at Amaranth, you can use our workstations to record directly into Audacity and don’t need to upload your audio file to cloud storage.
The Mac workstations and the PC laptop in the Amaranth studio all have Audacity installed. The Mac workstations also have Garage Band. For short and simple edits, it doesn’t matter which you use. For more control and precision, we recommend Audacity.


Starting Audacity
If you’re using a Amaranth workstation, the fastest way to start the app is to click the search icon in the top right of the screen and search for Audacity. You can then click on the app to load it.
When using Audacity for the first time, a few dialog boxes will appear that you can click past. The screenshots below come from a first-time use of the Audacity app on one of the Mac workstations in the Amaranth Studio.
Click past the initial dialogs
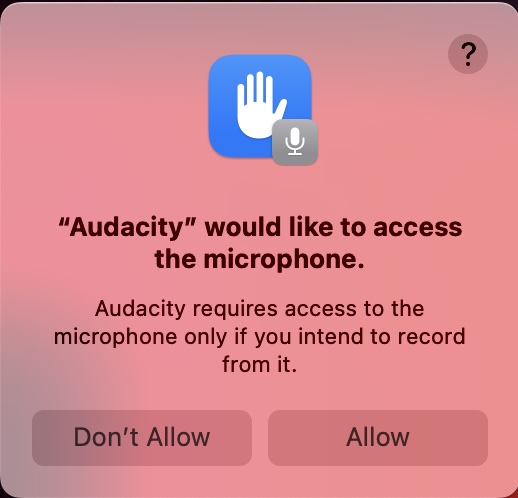
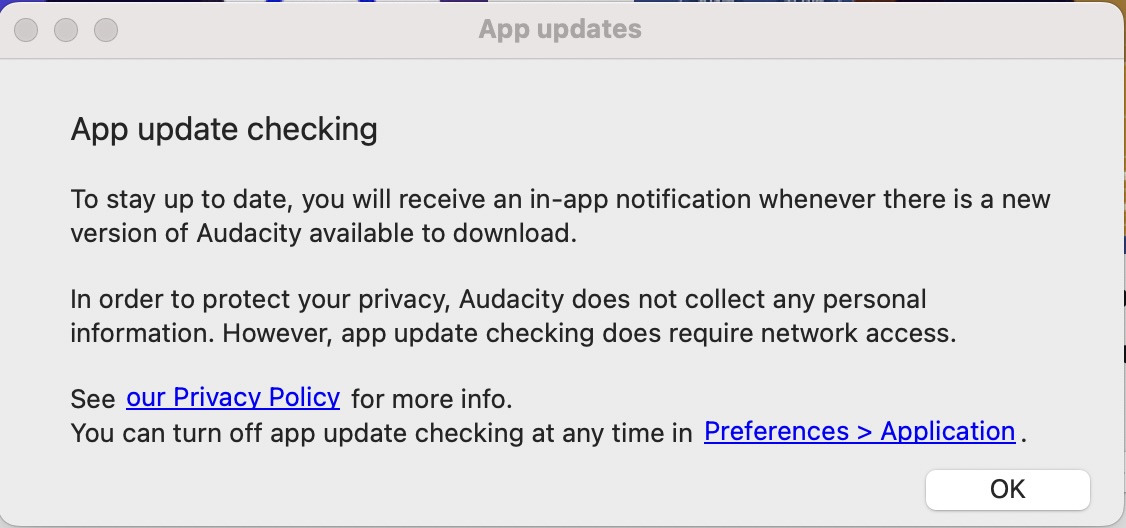
When prompted to allow use of the microphone, click Allow. Click past the checks for app updates by closing the box or clicking Skip.
Close warnings and welcomes
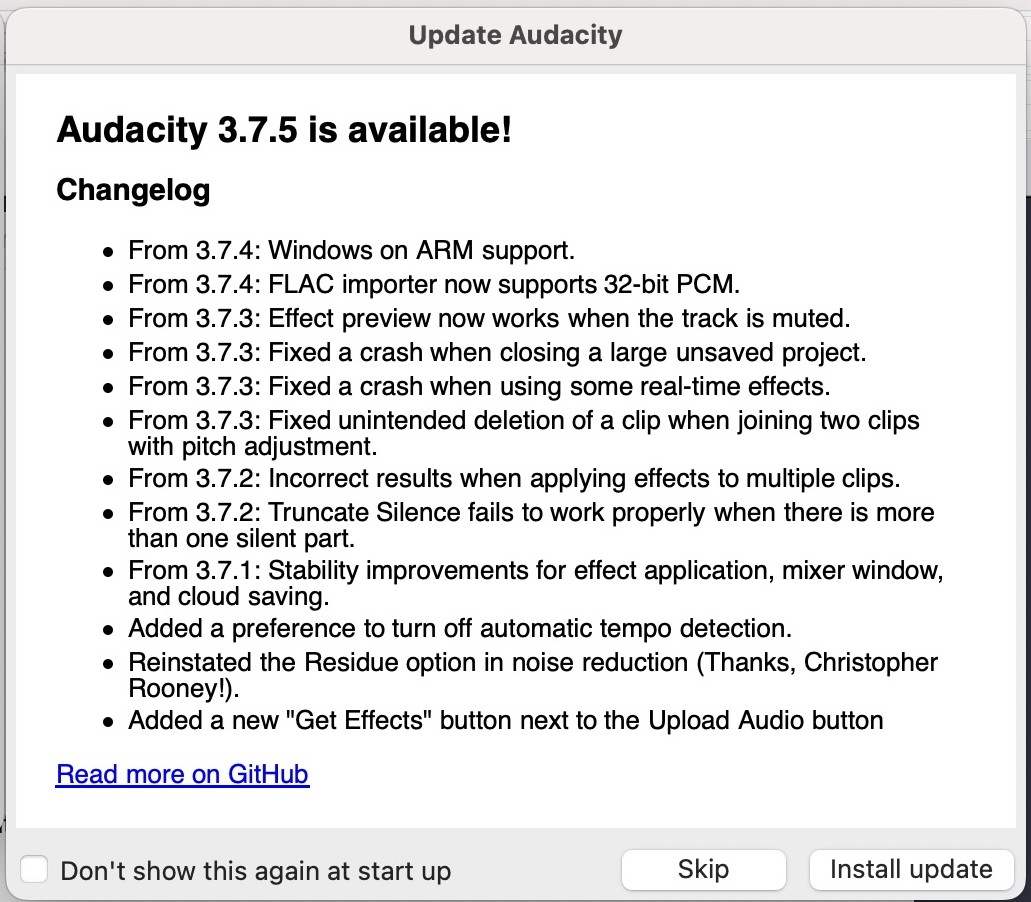
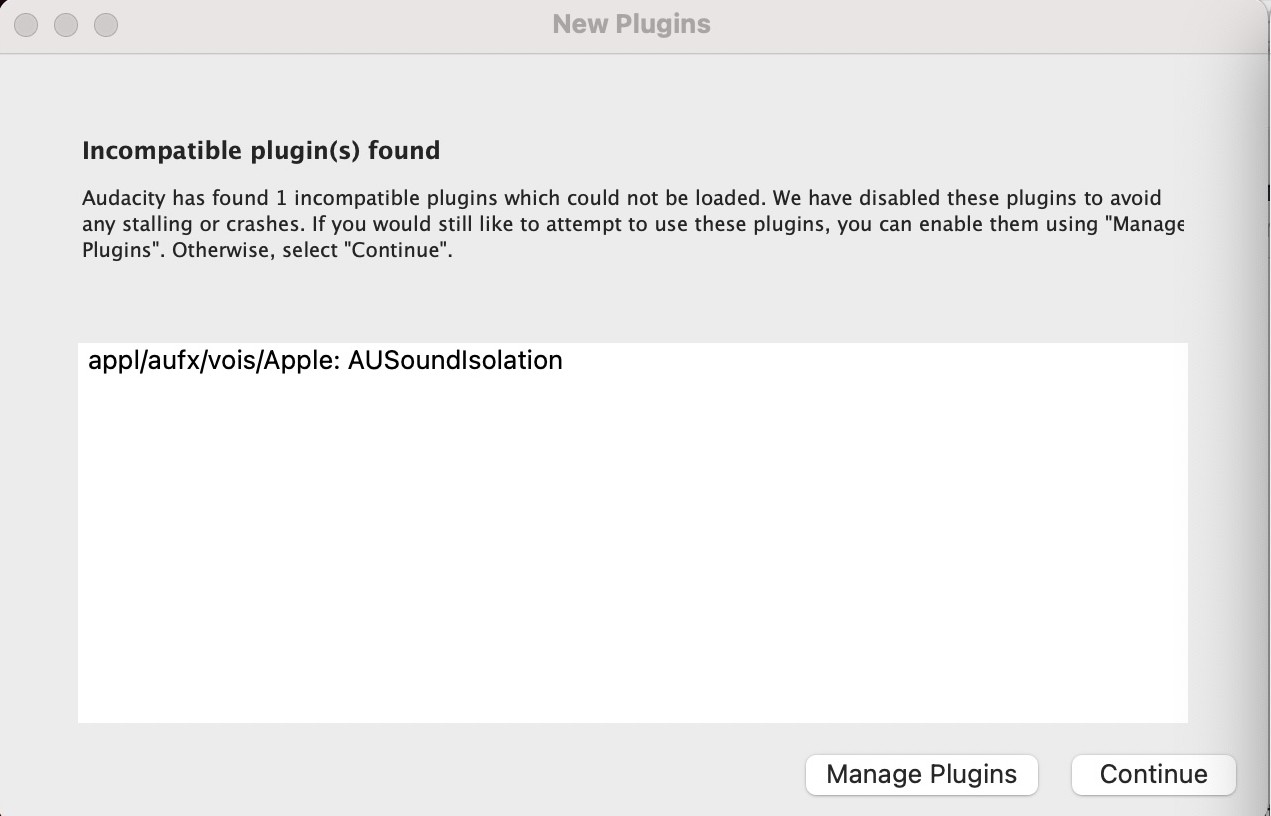
If you get a Plugin error, you can click Continue. Lastly, you will get a Welcome dialog box offering videos on what’s new in the latest version. It is ok to close this box or click Ok.

Record your audio
Recording is as easy as clicking the record button, but check a few things are set up correctly first before you record the real thing.
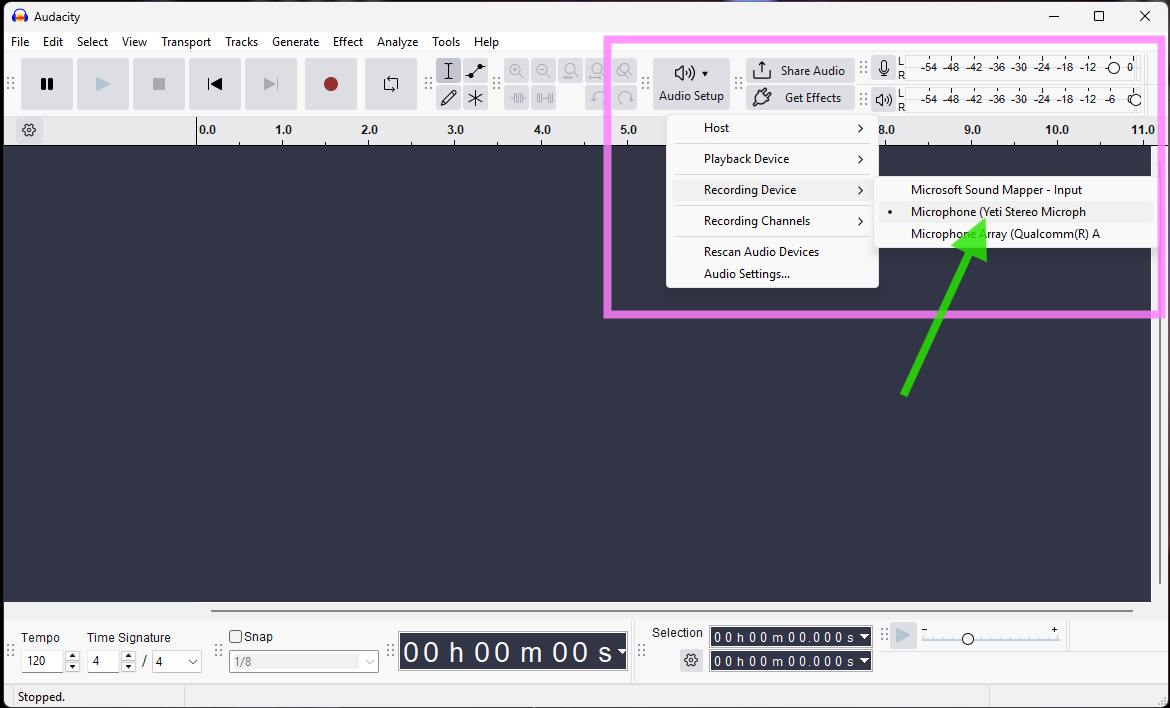
Check that the YETI mic as the recording input device is correctly connected by clicking on the Audio Setup button in the top row of controls

Check the sound meter to see if thee microphone input is too high. You want the dB input to get up to around -12, and you want it always to be green. Yellow or red tells you the input is too loud.
Record your stuff
Once you’ve confirmed the input volume is good, record your audio for editing!
Next Steps
Now that you have a audio file in Audacity, you’re ready to start editing with Audacity →