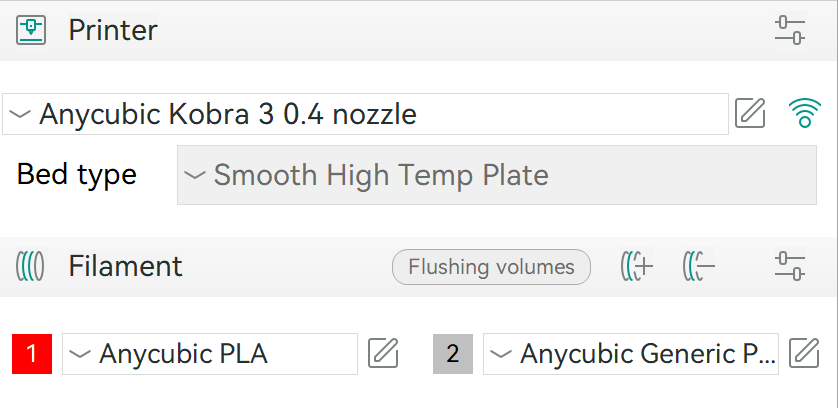
Open the Orca app and ensure that the Anycubic Kobra 3 printer is selected. The printer settings should look like the below screenshot.
Printer settings in Orca Slicer
Ensure the filament type matches the one loaded in the printer.
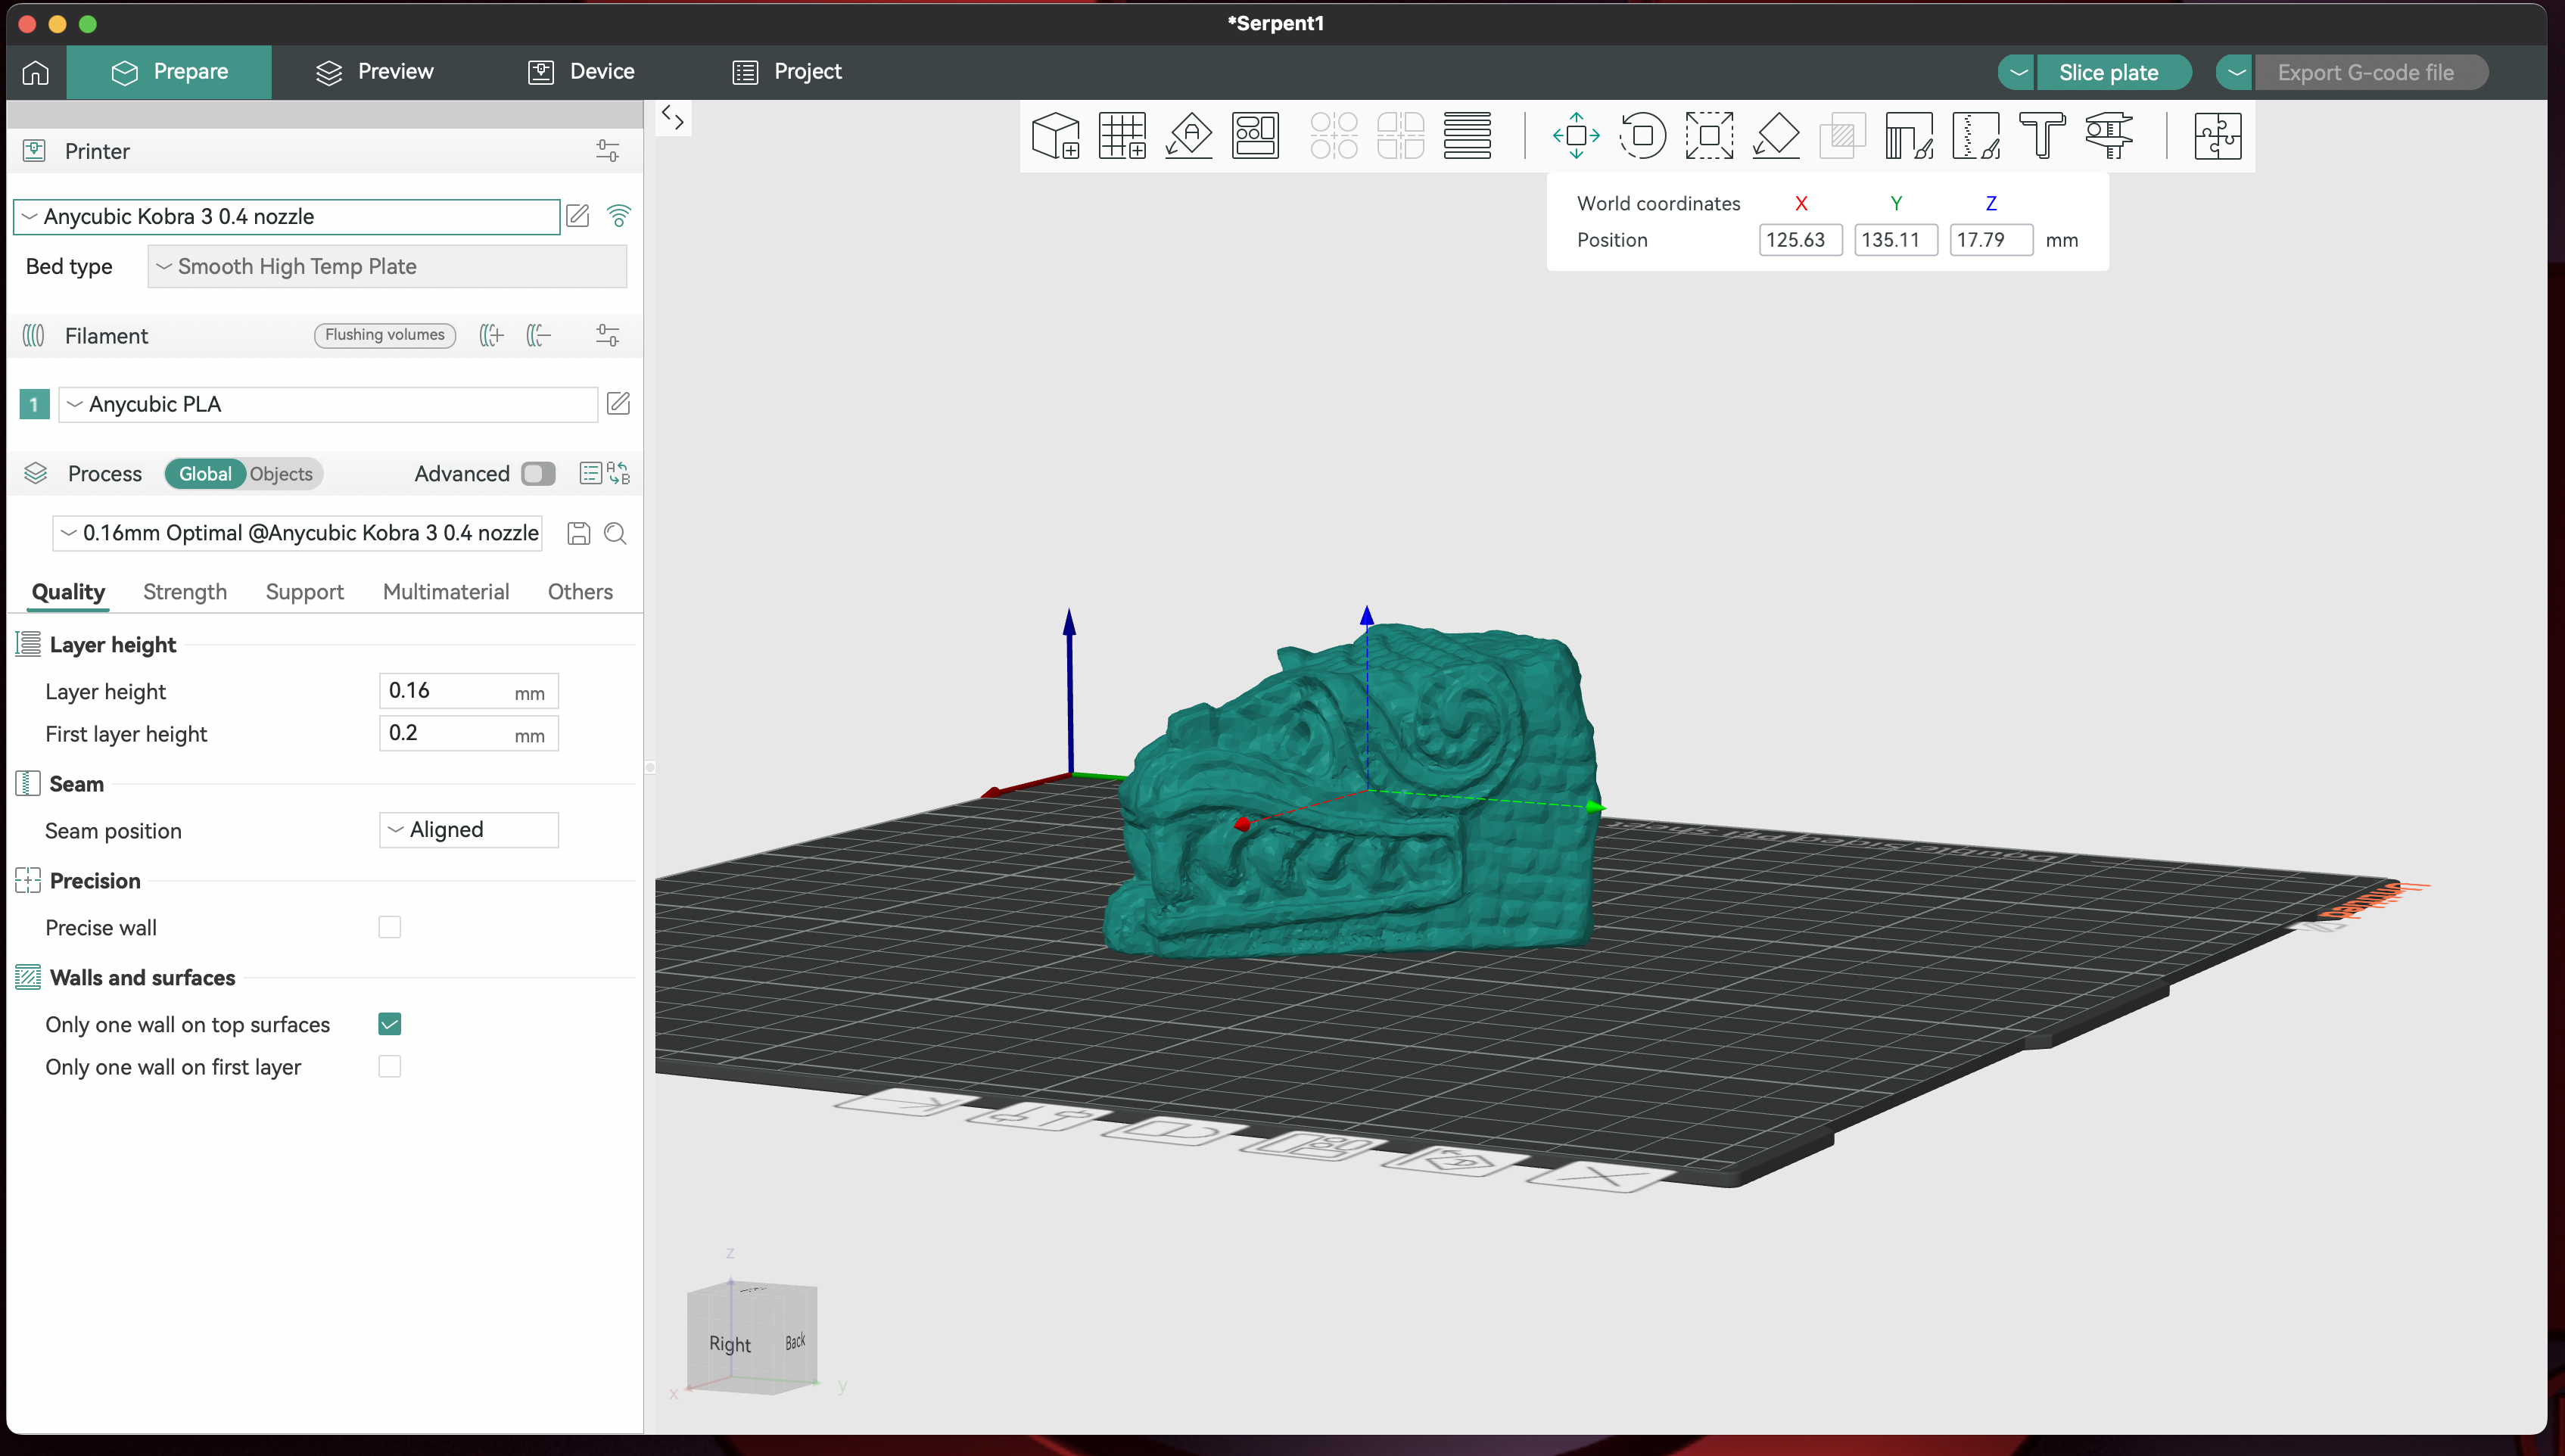
Import the file for your model, usually in 3MF or STL format.
After rotating it and snapping it to the build plate, it should look like what you see in the below screenshot.
Printer settings in Orca Slicer
Adjust the print settings (e.g., layer height, infill percentage) based on your desired print quality.
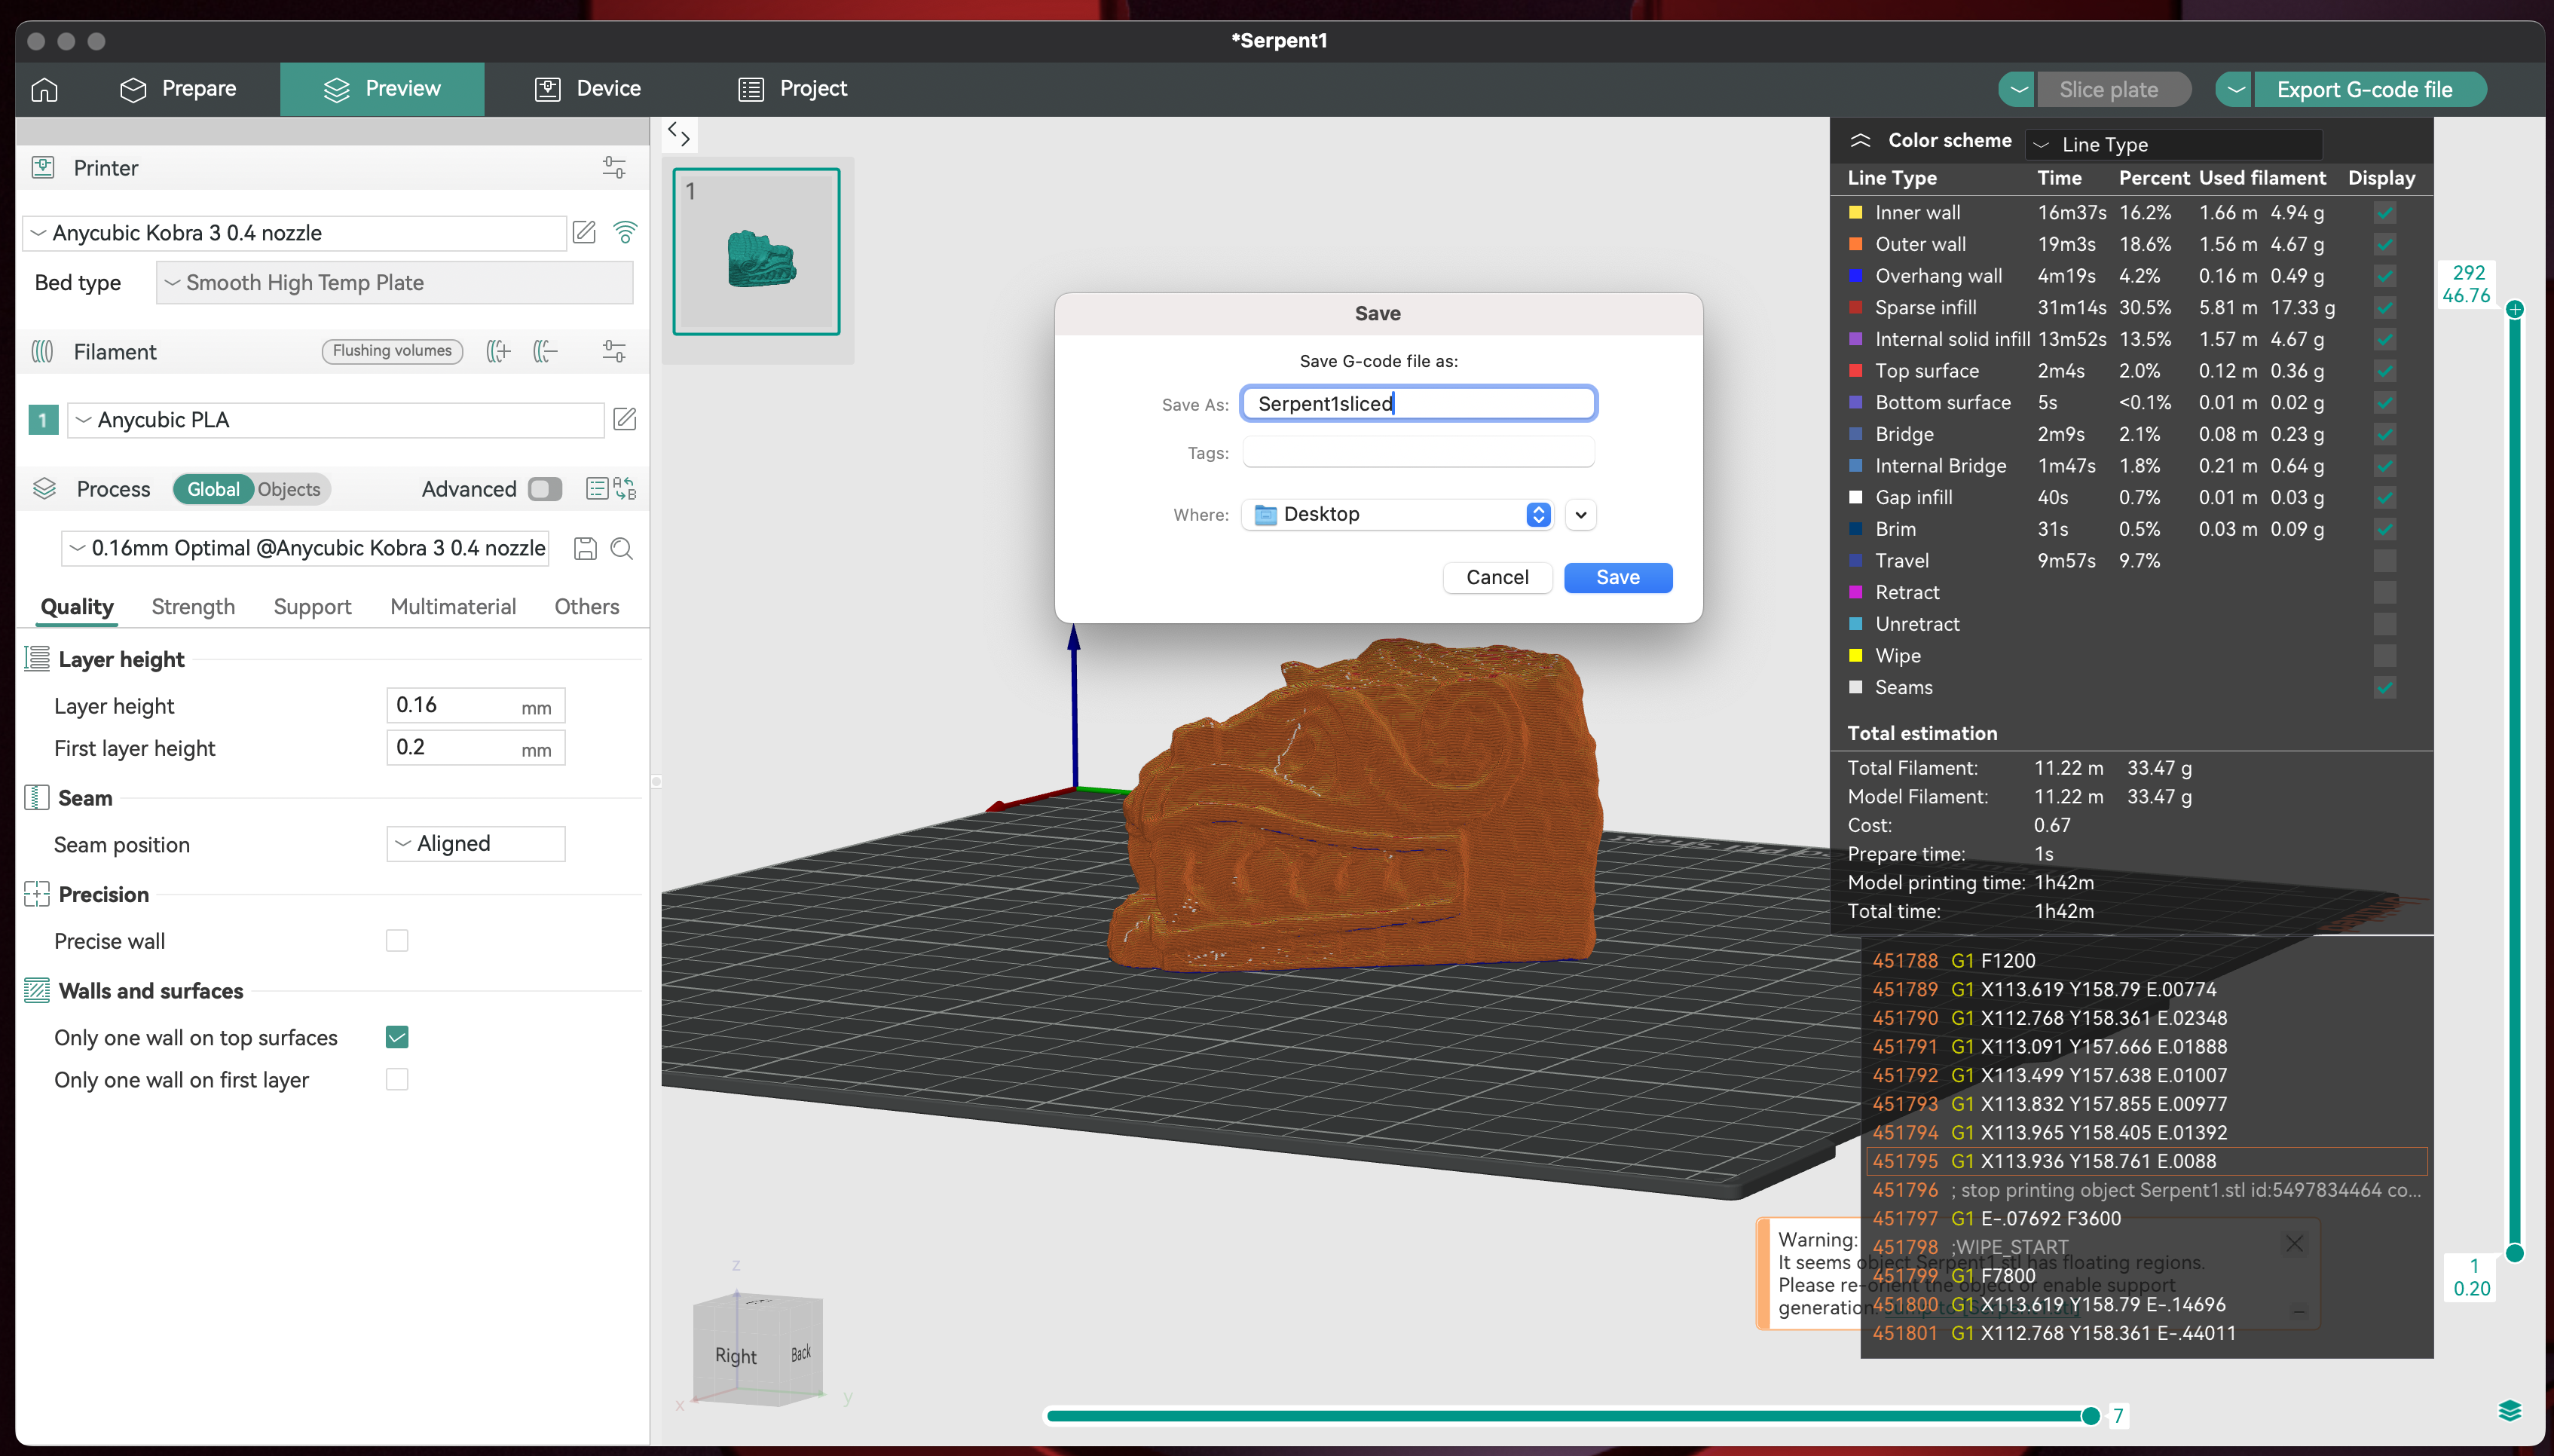
Click ‘Slice plate’ at the top right corner of the screen. After the slicing is complete, it should look like the screenshot below.
Model after slicing
You can preview each layer, and nozzle position within each layer, by moving the toggle bars at the right and bottom of the screen. Save the sliced file as a .gcode file to an SD card or USB drive for printing.