Editing with Audacity
All new software takes a little time to get comfortable with. After a little practice, you’ll find editing a breeze.
If you haven’t already used to Audacity to record your story, you’ll need to click through some early dialog boxes when you first start it (see the last section of the recording page for more detail).
Basic Editing
If you didn’t record directly into Audacity, you’ll first need to load your recording. It’s safest to download your audio file—.mp3 is easiest work with—from your cloud storage to whatever computer you’re using. Just drag and drop your .mp3 file to the Audacity window or icon in your tool bar.
The main task at hand is to edit out pauses, ums, and other sound glitches. When you’re playing your recording, you can see on the waveform (the visualization of your audio) where the glitch was.
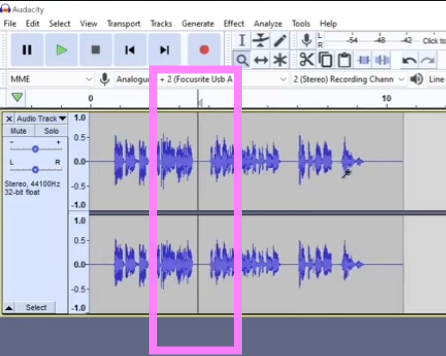
Click in the middle of an audio clip and then use Control+i to divide that clip into two parts
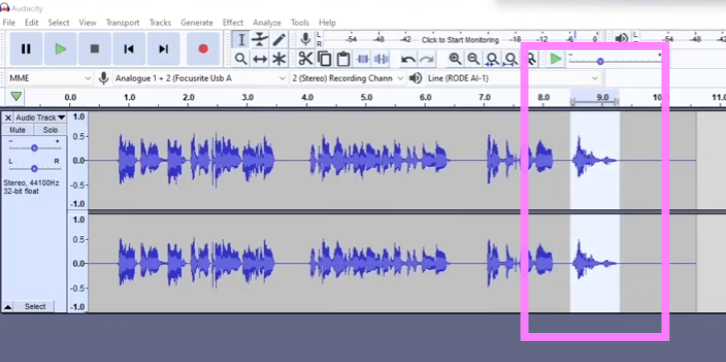
To remove pauses, drag the cursor over a portion of an audio clip to select it for deletion and then hit the Delete key
If for some reason there is a gap after deleting the clip, go to Audacity -> Preferences -> Track Behaviors and make sure “Editing a clip can move other clips” is checked. Then everything will work.
Adding other tracks (music, effect, etc)

- Find (or make) a sound file you want to integrate into your final audio clip. One great Creative Commons site is Pixabay, but use whatever you like.
- Download the file and put it somewhere you can access easily.
- Drag and drop audio files into Audacity
- The new audio file will display as a second audio track below what you already recorded.
General Tutorial
Here’s a solid general orientation to and demonstration of editing in Audacity. There’s more than you’ll need for your work, but it also helps you see what else you can do later.